Phase One

3219 2

IMG_2937

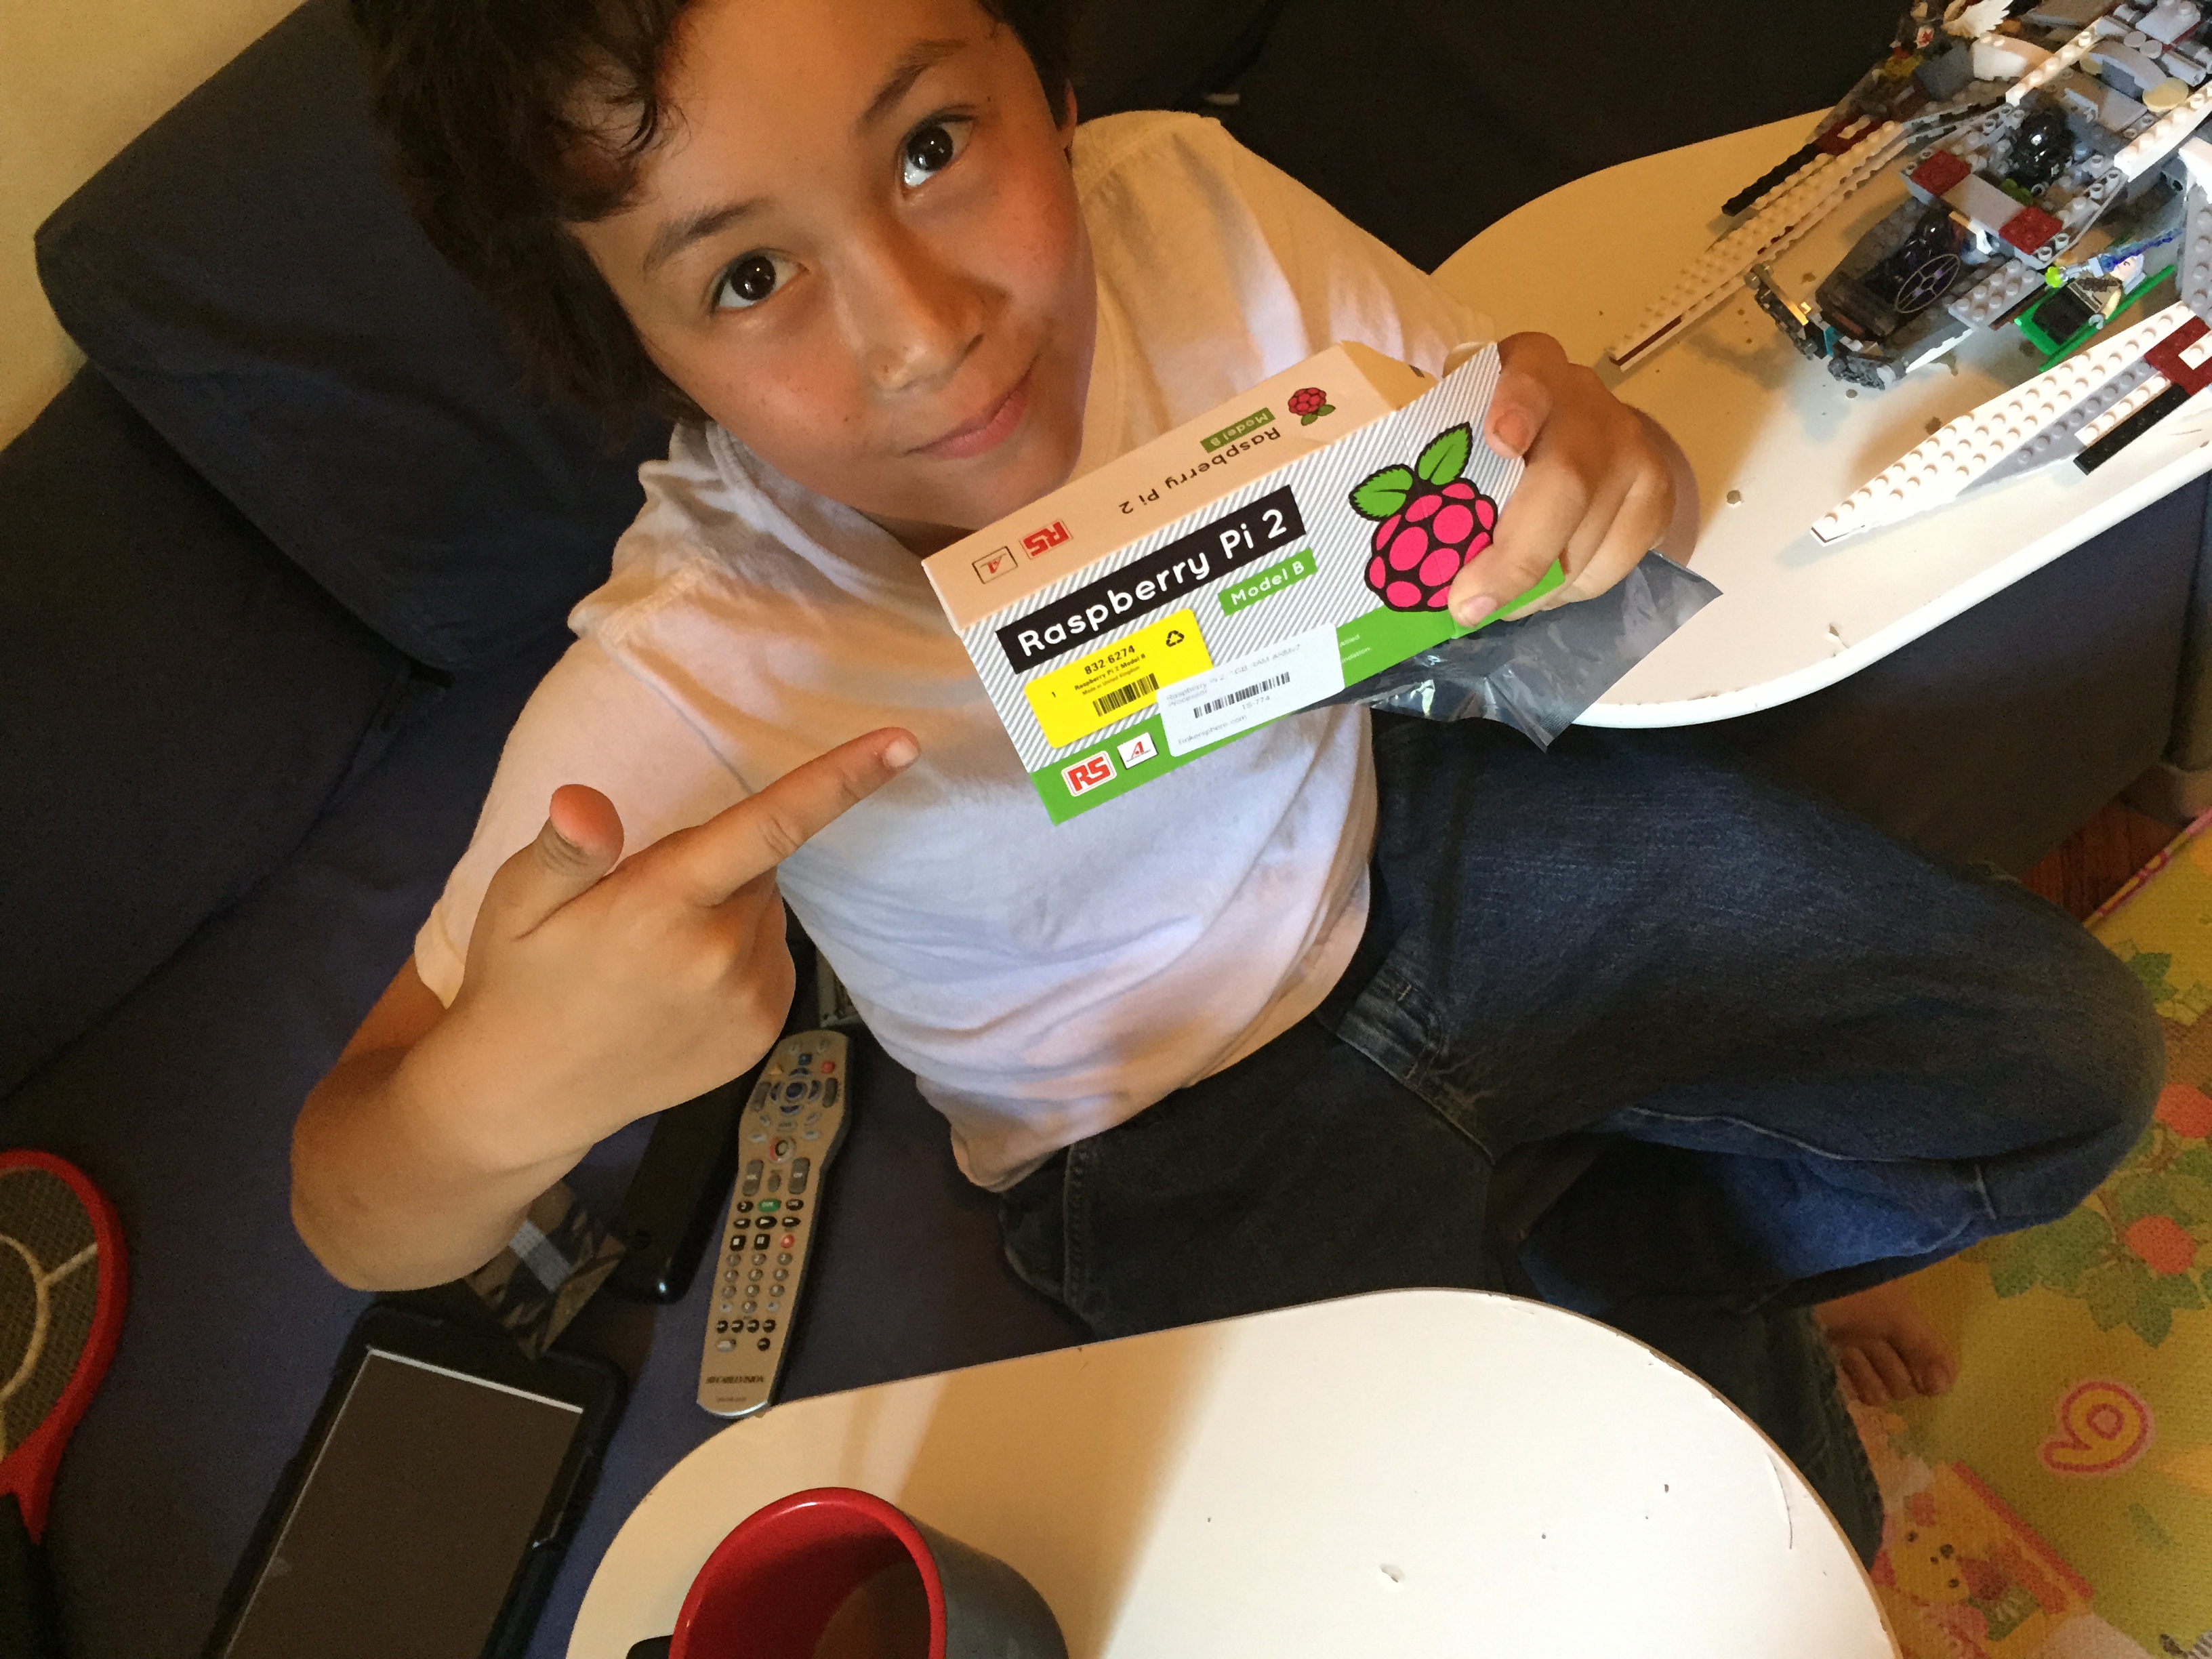
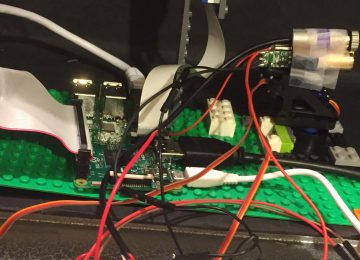
“Phase One” is where we learned basic raspberry pi use. we started with the unboxing of our model 2 B raspberry pi. the last step we did was static ip address for wired networking, setting up a sttatic ip  address allowed me to connect to the pi from another device, we could already do that, but the ip address would change all the time, making it static made it stay the same every time.

Setting up the camera was my favorite part in phase one. I felt like…

IMG_3036

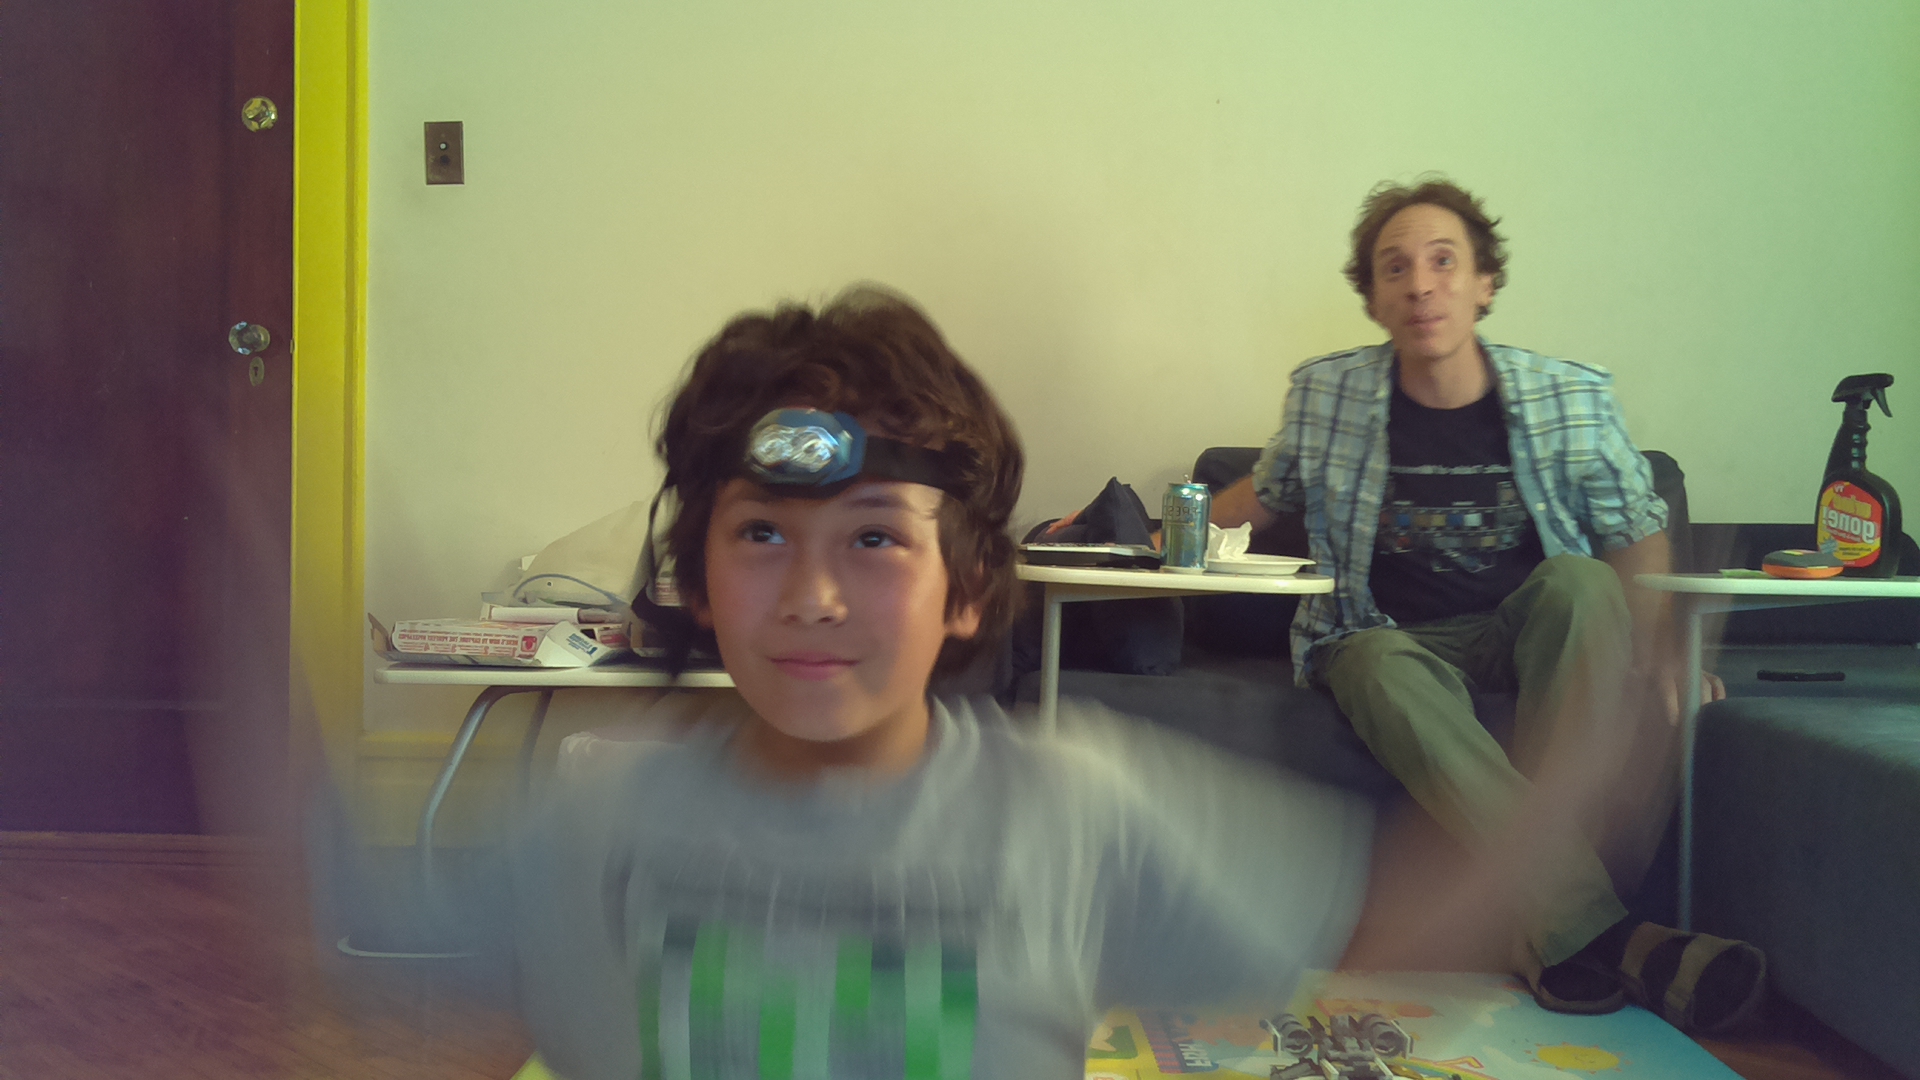
I was so amazed it was working, it was taking my picture.

Facebooktwitterredditpinterestlinkedinmail

Related Post

Add Clock Via i2c

Posted by - October 24, 2015 0
Prepare i2c added real time clock driver to raspian Add time variable to picture display Solder pins to clock module…

LED Blinking

Posted by - August 15, 2015 0
You will need the following things: Raspberry pi configured (see previos lessons) 5 Volt LED bulb(s) 2 jumper wires m/f…

Wire camera to pi

Posted by - October 24, 2015 0
Install camera software & configure pi One picture program One picture per blink cycle Print proto time on picture  …

There are 2 comments

Leave a comment

Your email address will not be published. Required fields are marked *

This site uses Akismet to reduce spam. Learn how your comment data is processed.